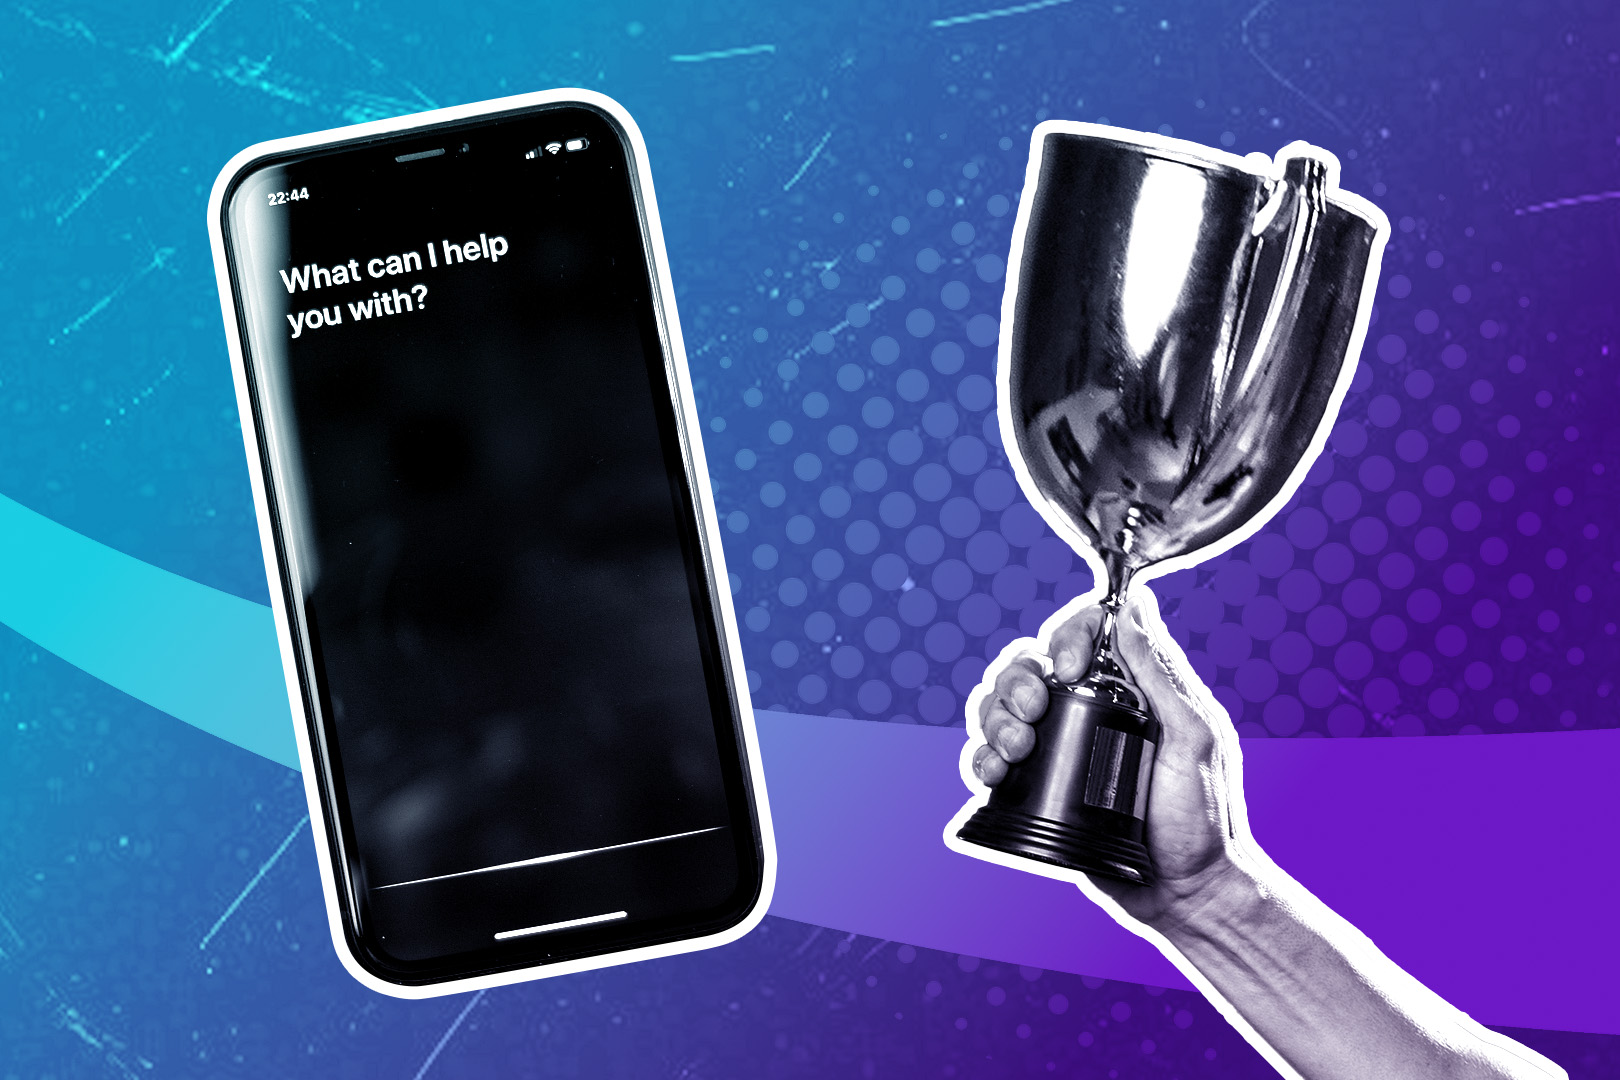
Reaching out to clients isn’t technically a race, but your speed-to-response is so critical that it might as well be. Research shows that contacting your leads within 90 seconds of their outreach boosts conversion rates. Seventy-eight percent of customers will even buy from the first company that responds to their inquiry.
You don’t have to be perfect. Your pitch doesn’t have to be pristine. You simply have to be faster than the next company, and your chances of closing the sale will significantly improve.
True; it’s not always feasible for your sales team to follow up on a lead within 90 seconds. Fortunately, you can systemize much of the hard work of quick follow-ups using Close. Here’s how.
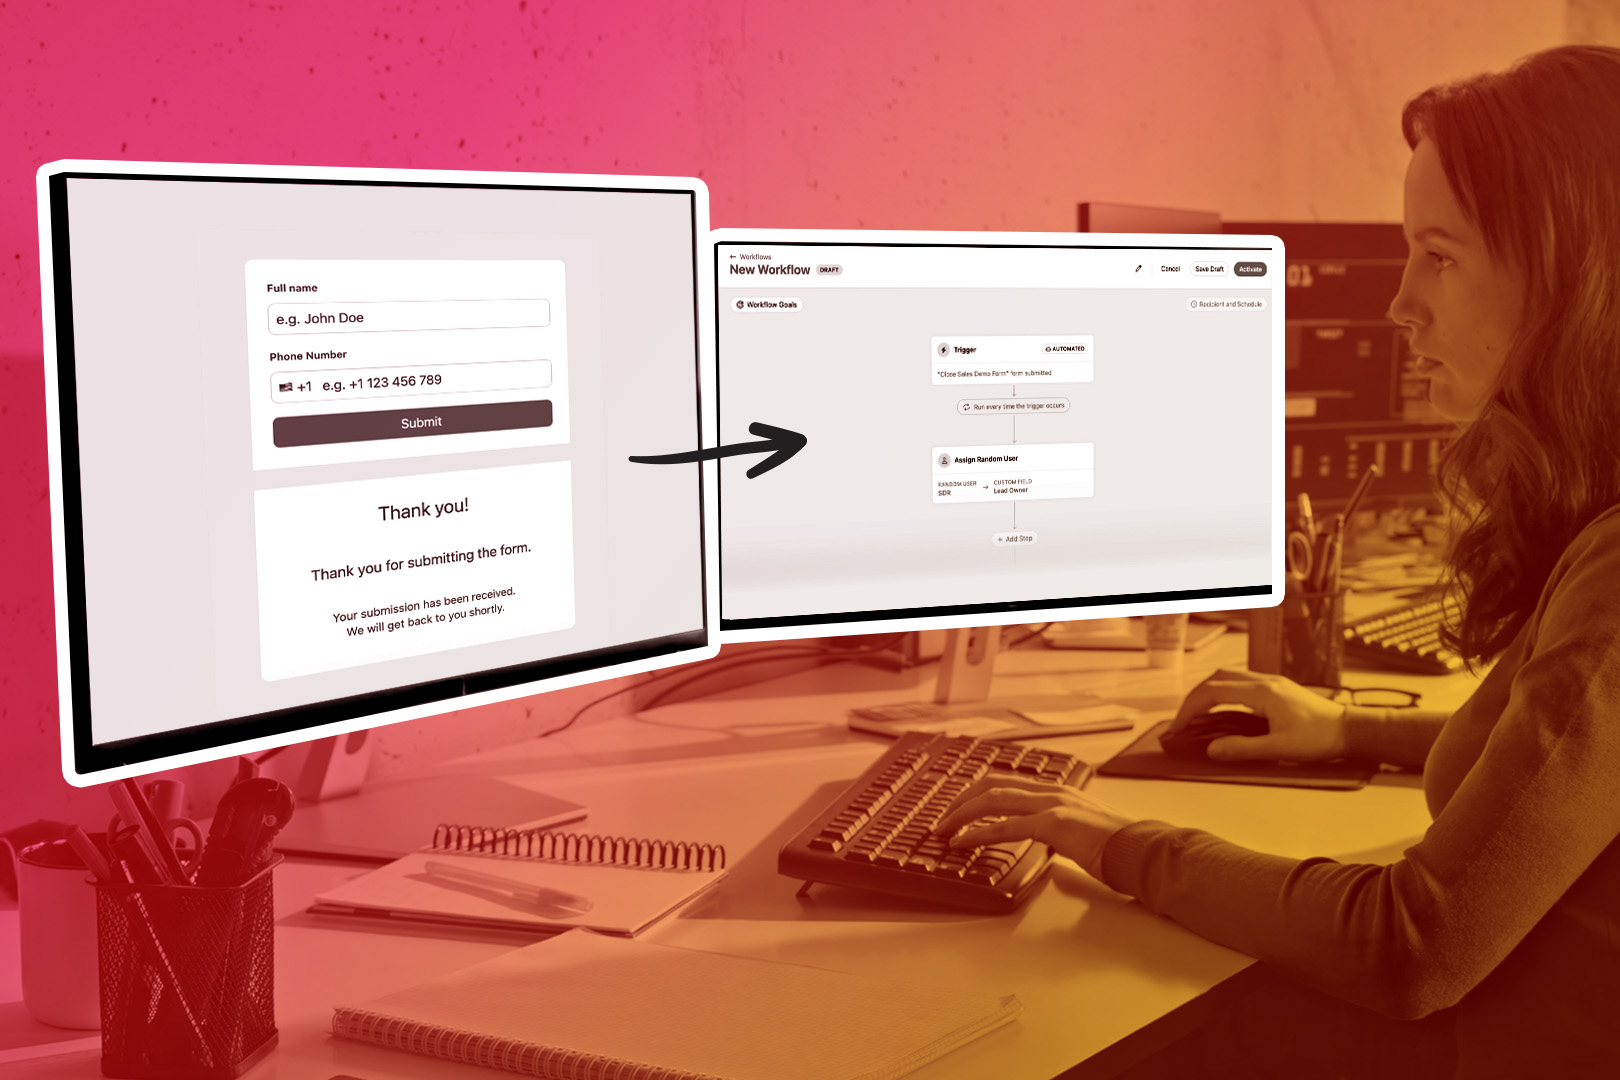
Step 1: Automatically Route Lead Data into Close
The first step is intake. You get faster when your lead’s data drops onto the right person’s desk as soon as your lead clicks “submit” on a web form.
If you’re using Close Forms, your lead is created instantly in Close. And if you’re using third-party forms (Typeform, Webflow, Facebook Lead Ads, etc.), you can still connect them—either via native integrations where available, or via Zapier as a fallback.
Using Close Workflows, you can automate a follow-up email to go out as soon as they click the submit button. Easy-peasy. The main goal here is clean data and zero delays. So here’s what you’ll need to know as you create follow-up lead flows:
- Use Find Lead within Close, and not Create Lead. (This helps ensure that you prevent duplicate records.)
- Use email and phone number data as the most reliable unique IDs on each lead. “Sam,” for example, is not enough lead data to sort one Sam from another.
- Pull in all the data your reps need. You’ll have to do this within your web form. What do your reps require? Ask them: first names? Emails? Lead sources? Any qualifying questions?
- Use custom fields for bonus context. Add “reason for reaching out” or “biggest challenge,” and your team already has some conversation starters ready to go.
Ideally, your rep won’t see the lead until it’s already packaged, processed, and contains all the right info for the follow-up. The sale, hopefully, will be imminent.
Step 2: Trigger Instant Email and SMS Responses
Customers are under no illusion that you can reply at the speed of light. But they still like to know that their submission went through. So once a lead enters Close, use Workflows to quickly send email and SMS follow-ups. (“Quickly” as in: immediately.)
Worried this will sound impersonal? It’s more about saying: “Hey, we noticed you submitted our form. Standby.” Your rep may be on another call—potentially even grabbing an extended lunch—but this way, your lead still gets a response right away.
Don’t overthink this step. It can be simple:
Hey {{first name}}, saw you just requested more info—check your inbox, we’ll be in touch shortly.
Feel free to spice this up to meet your brand’s personality, or potentially link to more information. But what’s most important is that your lead hears from you right away.
This is your safety net. A well-written first reply boosts trust from the very first touchpoint.
Step 3: Use Smart Views to Enable Lightning-Quick Calls
If email and SMS are appetizers, the main course is the phone call.
Set up Smart Views in Close so reps always know the next best call. This will help your reps understand exactly who to call and when.
(A friendly note: Since Smart Views is so important, and since your reps should “live” in this view, you may want to follow along with this visually: check out Forrest explaining Smart Views within Close.)

Here are some tips for enabling Smart Views to show which reps who to call—and when:
- Set up an immediate call list. Set the status to “reaching out,” with no calls yet, no meetings, no open tasks, and no opportunities. These are the highest-priority leads, because these leads need to hear from you ASAP.
- Set up a second Smart View for daily follow-ups. These are the leads who didn’t answer on the first try, but don’t have recent calls and are still marked as “reaching out.” Note: You may want to cap the calls at twenty per lead before retiring them.
Step 4: Customize Close to Match Your Sales Process
No two sales teams operate the same way, so there are no one-size-fits-all pants here. Your Close setup should reflect the way your team prefers to operate.
But how do you do that? Here are a few tips for tailoring your setup:
- Use custom fields to track qualifying criteria, especially if you have a unique service offering that’s hard to address with the default options. This way, reps can disqualify poor leads faster.
- Add specific lead sources so workflows reflect the different paths customers took to find you. For example, a customer who downloaded your ebook is going to have different information than a customer who already booked a demo.
- You can A/B test your follow-up messages within Close if you’re still not quite sure about your branding and how it’s working. Just remember to tag each workflow, tracking conversions by message type.
And that’s it. It’s not difficult, and as you experiment, your team will start to learn where your best leads come from. You’ll also start to get into a rhythm of how quickly to respond to them to capitalize on the opportunity.
Turning “Speed” into “Sales”
Sometimes speed is a matter of luck. But when you systemize your speed, you get luck working on your side. If you use Close and integrate a few simple automations, you can build repeatable systems for being the first to reach out to a new lead.
This will keep your pipeline warm, your reps focused on making sales, and your conversion rates sky-high. (And if not? You can always tweak the system until those rates are high.)
Eager to test it all out? If you liked what you heard out of Close’s features, you can poke around the software by signing up for a free trial.